A sidebar is any widgetized area that appears besides the main content on either side of the screen. They highlight the additional features, information, and functionalities present in the sites. The sidebar layout in the Blogbuster will help you manage and adjust your highlighted content on your site’s layout.
To adjust the sidebar layout,
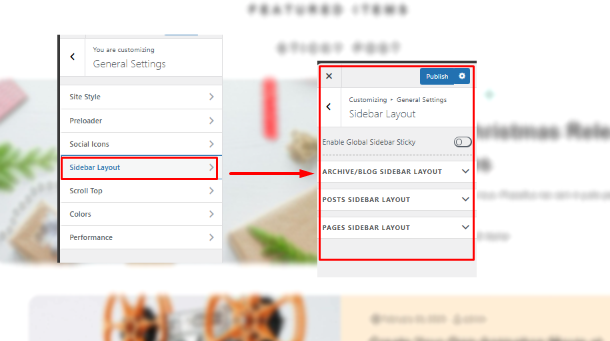
- Log in to your WordPress dashboard, then go to Appearance > Customize.
- Then click on General Settings, and then select Sidebar Layout.
- If you want the sidebar to remain fixed in the browser window as the user scrolls down the page. You should turn on the Enable Global Sidebar Sticky toggle option available at the top panel .
- Similarly, there are three different pages you can adjust the sidebar layout of: Page Sidebar Layout, Archive and Blog Sidebar Layout, and Post Sidebar Layout.
- Now choose the appropriate sidebar for each section present on your site.
- There are five different options available on each page for sidebar layouts: Right Sidebar, Left Sidebar, Both Sidebars, No Sidebar, and No Sidebar Center.
Note: If the applicable sidebar isn’t chosen, then the widget on the sidebar may not appear on your website. So choose the widget wisely according to your sidebar layout and vice versa.
With Blogbuster Pro, you can enable Global Layout Option for your sidebars. It changes the design of the sidebars globally on your website. You can also implement different layout options for Frontpage and Search Page
Use Sidebars for Frontpage and Search Page
With Blogbuster Pro, you can easily implement sidebar layout options for your Frontpages and Search Page. This helps in adding personal touch and implement variety in various sections of your website. keeping readers easier to navigate and engaged.
- You can also enable or disable the Sidebar sticky for each section of your website.
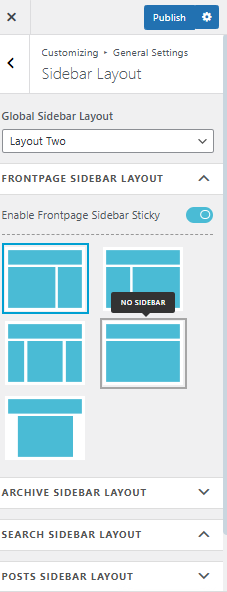
- Global Sidebar Layout option enables you to implement layouts on all of the sidebars in your website. Choose your preferred on accordingly.
- At last, save the changes by clicking on the Publish button.