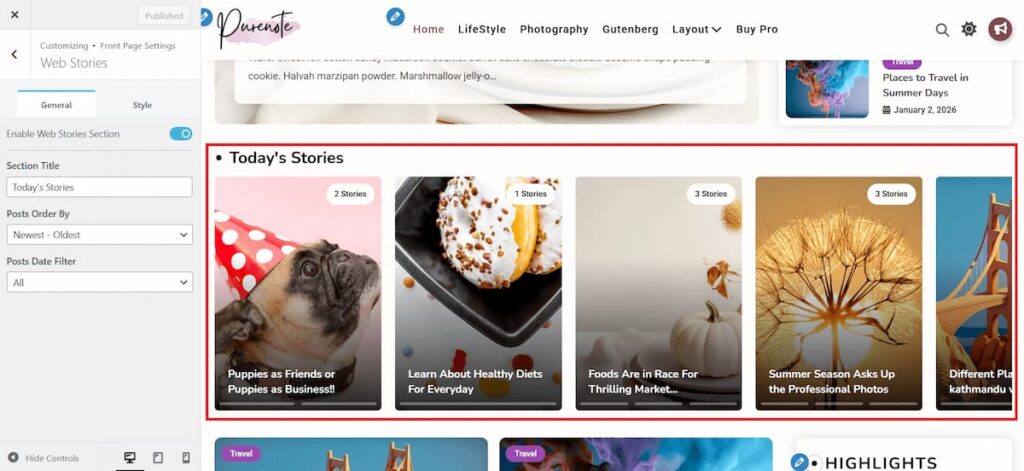
Purenote comes with latest feature that enables you to add content entitled as ‘Web Stories‘. It its similar to that of stories you see on social media, where you can publish a content which will be live and automatically changes upon certain interval of time (e.g. 5 seconds or 5000 milliseconds)
To enable your Web Stories in your Purenote:
- Go to your WordPress Dashboard and look for Appearance → Customize to get to your customizer
- Then go to Frontpage Settings in the customizer and choose Web Stories from the given options.
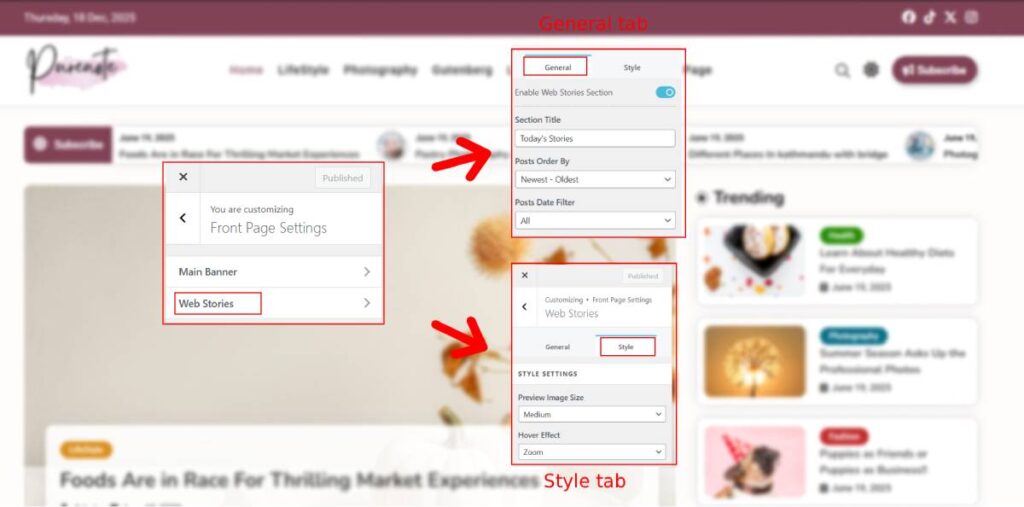
In General Tab of the Web Stories settings, you can customize title of the Web Story section, add post and enable date filter to the post. Whereas, in Style type you can choose the size of the image to be displayed in the story and choose Hover effect for them.
- Make sure that you have enabled Web Stories by toggling on the “Enable Web Stories Section” option.
- Add Title to the section as per your preference,
- Choose the order of the posts that will appear in the Web Stories section
- And enable and select date filter to ensure that the posts are being displayed as per the dates you desire.
- Similarly, in Style tab, choose your Image size from the drop-down menu
- Do the same for choosing Hover effects for the Web Stories section
(Pro Tip: Test out all the options before making your decisions)
More customization option from Purenote Pro
Purenote Pro provides you with more customization options including choosing timer, layouts and click action for the Web Stories

- You can enable Auto Scroll by toggling on the ‘Enable Auto Scroll‘ option as shown in the image. The stories that you add will automatically scroll like animation if you enable it.
- Story Duration enables you to determine how much time your story will be displayed when clicked. then counting will be on milli seconds so, add how much millisecond you want the story to be played.
(Example:if you want your stories to be up for about 8 seconds then input 8000 in the given text box)
- Verify your changes and make your you have clicked on Publish button to save them.