You can now manage your menu with the live preview from StoreFlex’s customizer. This will help you have more personalized, precise, and effectiveness-oriented customization of your menu.
To do so,
- First, open your WordPress dashboard.
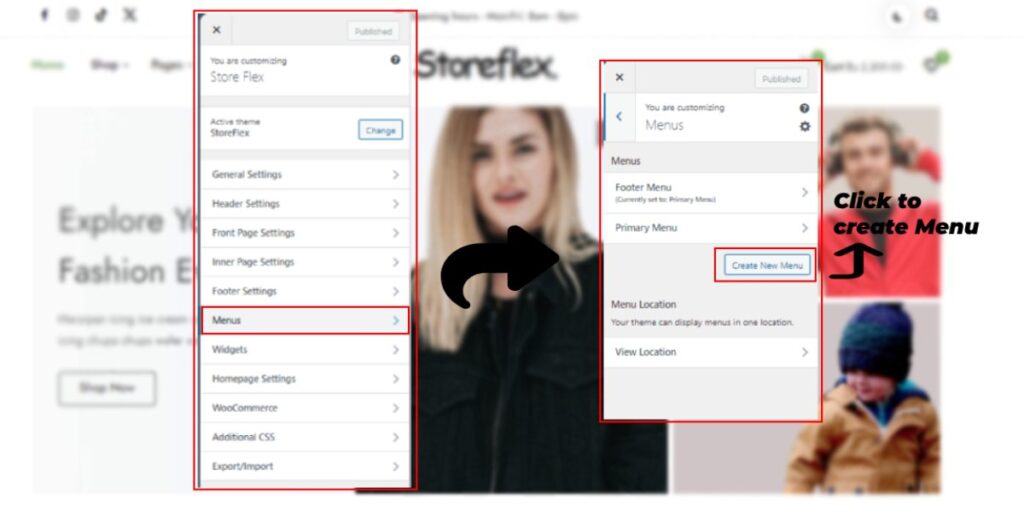
- Open your theme customizer by navigating to Appearance > Customize.
- Select the menu options to open the menu settings interface.
- Click on the Create New Menu link to create a new menu.
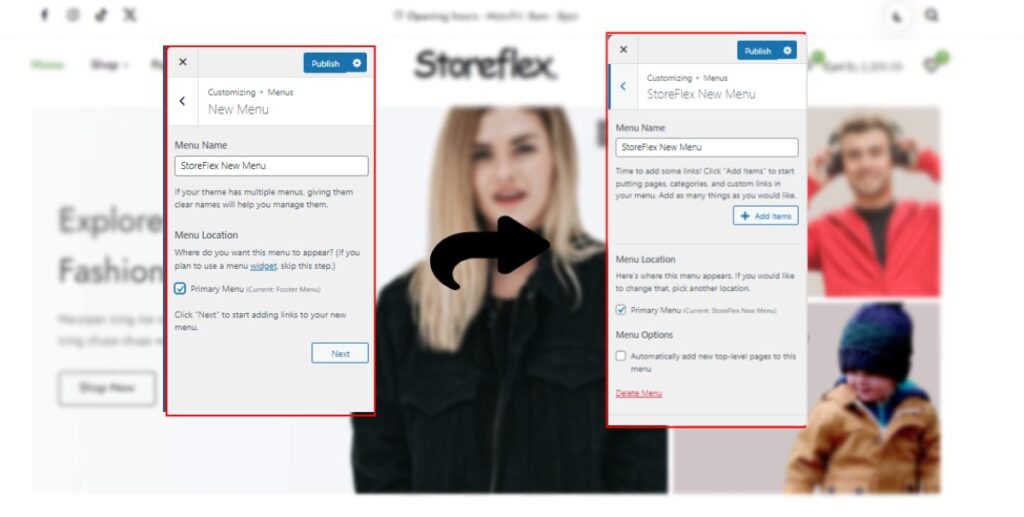
- First, enter your menu name in the Menu Name Input field, and then set a location for that menu to either the primary header or the footer by checking one box.
- Then, click on the next button below.
- Click on Add Items under the Menu Name section.
- You can then add menu items for your newly created menu from the array of options, which are Custom Links, Pages, Posts, Categories, and Tags.
- Expand any of your preferred panels and click on the + icon to add them to the menu.
- You can also reorder menus to create a drop-down effect by clicking on Re-order items. Use arrows to create a slight indentation for drop-down menus.
- Click on Publish to save the changes.