Many people are confused after switching from the Ogma Free version to the Pro version, and they are not getting the same layout as the Free version’s of Ogma Blog. So, our Mystery Themes team has decided to create this article for Ogma Pro’s users to properly adapt the layout similar to that of the free version.
Here’s how you can switch from Ogma Blog to Ogma Pro and get a similar layout to the free version.
- First of all, navigate yourself to WordPress Dashboard, then Appearance >> Customize
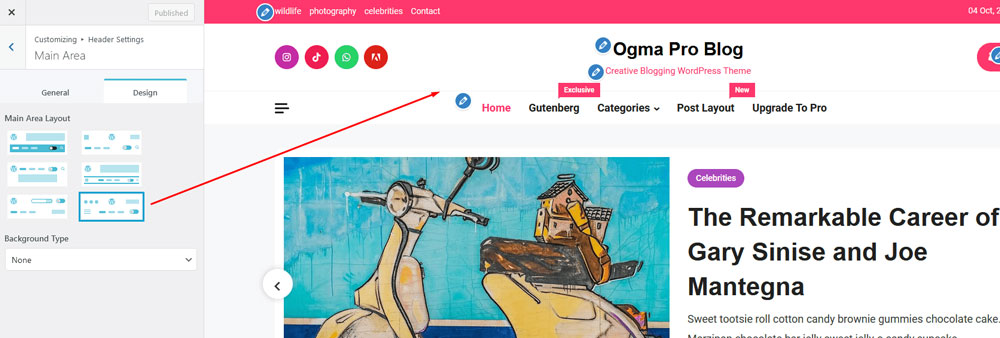
- Then, go to Header Settings >> Main Area and select the layout at the bottom (sixth) as per the image given below.
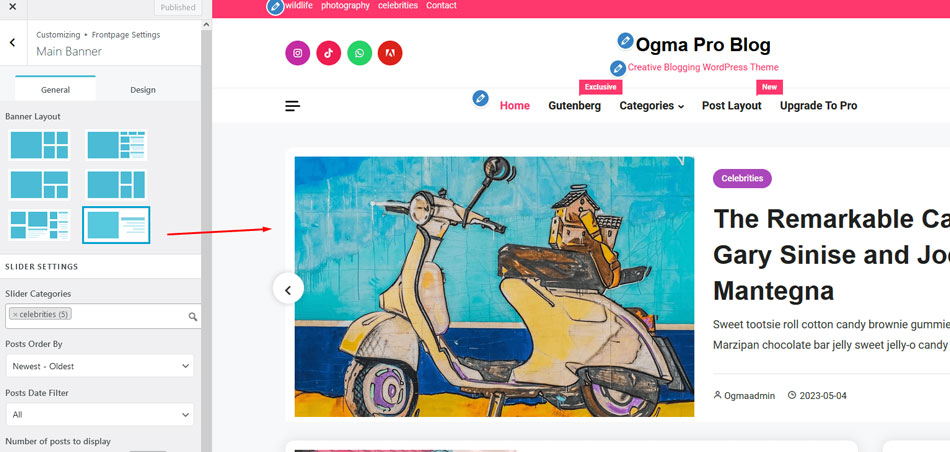
- Then again, navigate yourself to Customizer panel, then go to Frontpage Settings >> Main Banner, and then again select the sixth layout from the given options as given in the image below.
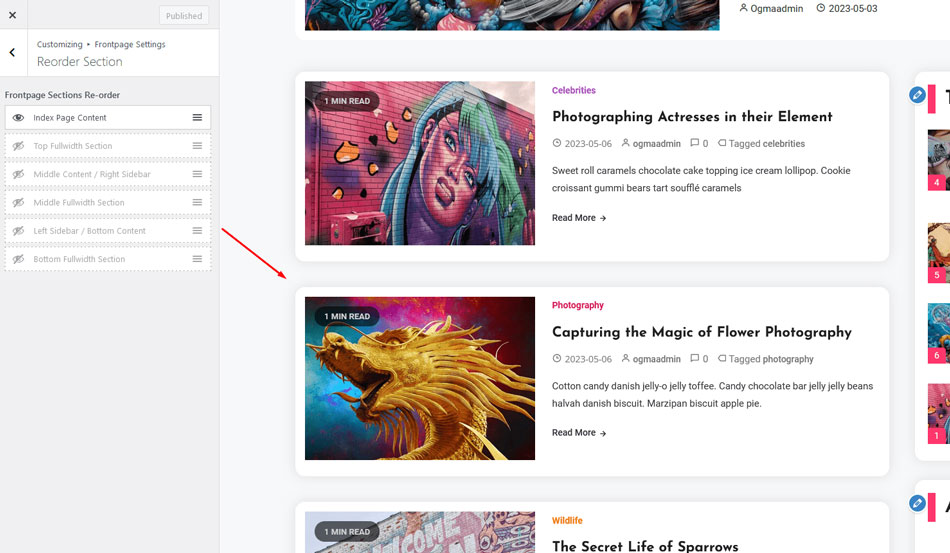
- In the similar Frontpage settings, again go to the Reorder Section and hide all the sections besides Index Page Content by clicking on the eye icon on each of the sections.
Adapting these customization processes to your website will give a similar layout as shown in the Ogma Demo and after these customizations, you can play with color typography, archive, and single post layouts as per your customization.