Fonts are the soul of any website. Because it is used on all pages and sections of the website, properly customizing is very necessary. Fortunately, with StoreFlex Pro, you have everything you need to configure your website’s typography as per your needs.
To customize your fonts,
- Go to your WordPress Dashboard and go to Appearance > Customize
- Then head to General Settings and to the Typography option.
The basic customization of the fonts has already been explained in the documentation of the free version of StoreFlex.
There are multiple new features for customizing the typography of your website. You now have more font-family options so that you can customize your fonts more deeply.
Customization of font size, line-heights and color
In StoreFlex Pro, you can enhance your font customization by personalizing their sizes and colors.
- Click on any section where you want to customize your fonts inside the typography option.
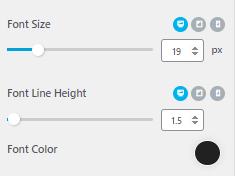
- Then look for font size to manage the size of the fonts with the slider or input area given in the respective section.
- You can also check the responsiveness of the customized fonts using three small icons
 in the font size and line height section.

- Choose the desired line height below the font size option.
- And select the color using the circular palette beside Font Color.
Customization with respect to heading tags
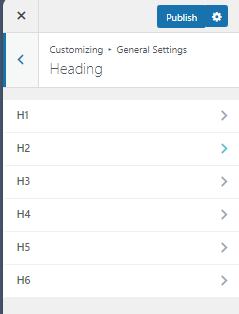
There are many heading tags on your website. The heading is separated into six sections on the basis of their sizes. Starting from H1 (biggest) all the way to H6 (lowest). So, with StoreFlex Pro, you can customize your headings on the basis of their tags.

The customizations are the same as in any other section, so there are no complications while customizing your fonts.
What’s more?
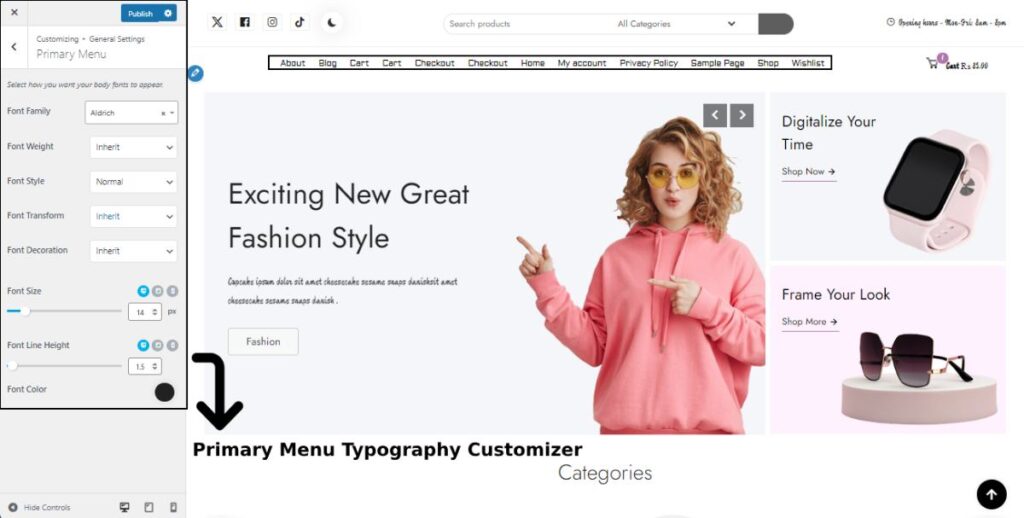
You can now edit the fonts for the primary menu, including descriptions, item texts, and all the other items in the menu. The customization processes are similar to those in every other section.
